Many thanks to Eric Rhoten at https://www.makeawoodsign.com/ who provided me with excellent instructional videos. He provides step-by-step instructions, close focus videos and tips to learn by watching. Highly recommended if you are interested in learning how to make freehand signs.
Freehand Sign Carving
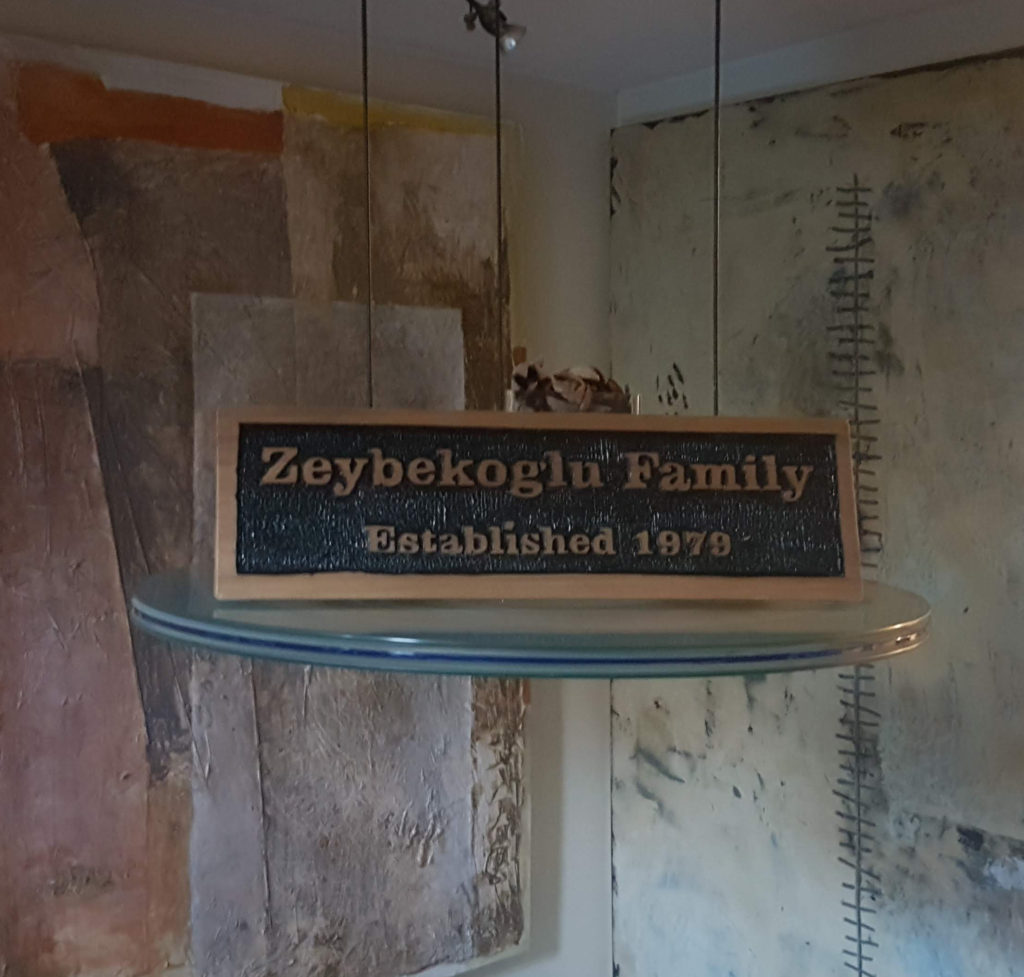
Cedar Family Sign – Zeybekoglu
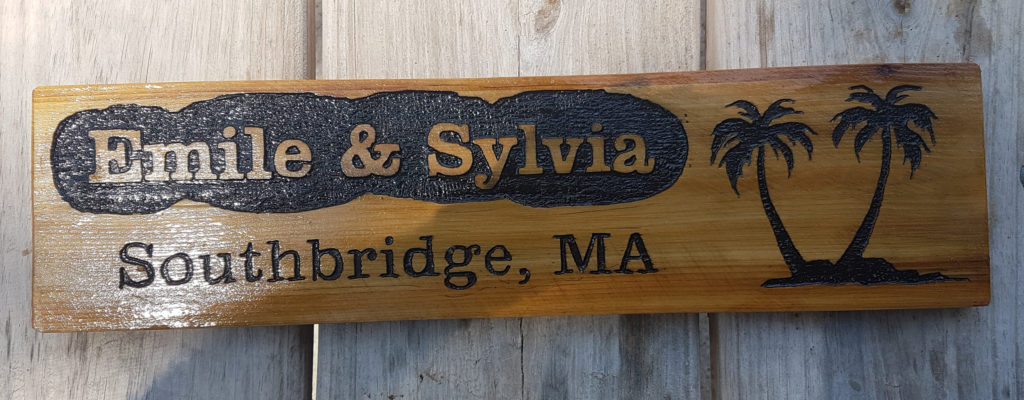
Cedar Finish One Side Sign – Emile & Sylvia
This will illustrate a few of the basic steps:
After sanding the 24 inch x 6 inch cedar, the entire surface is covered by blue painters’s tape. The graphics were created in Adobe Photoshop and tiled so as to connect the two 11 inch long pages. The paper is then spray mounted onto the top of the painter’s tape.
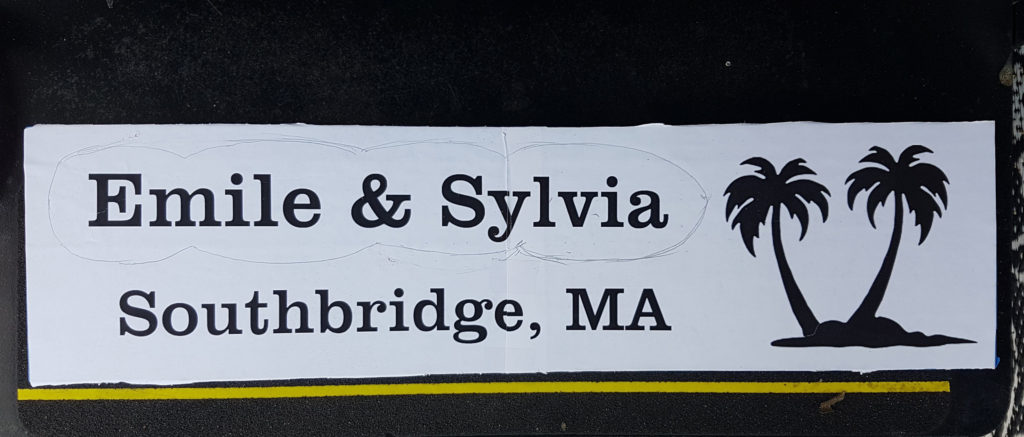
The letters and graphics are cut through the paper and tape, using a router and profile bits and 90 degree removal bit. The paper is trimmed away from the carved areas and sprayed with black flat primer.
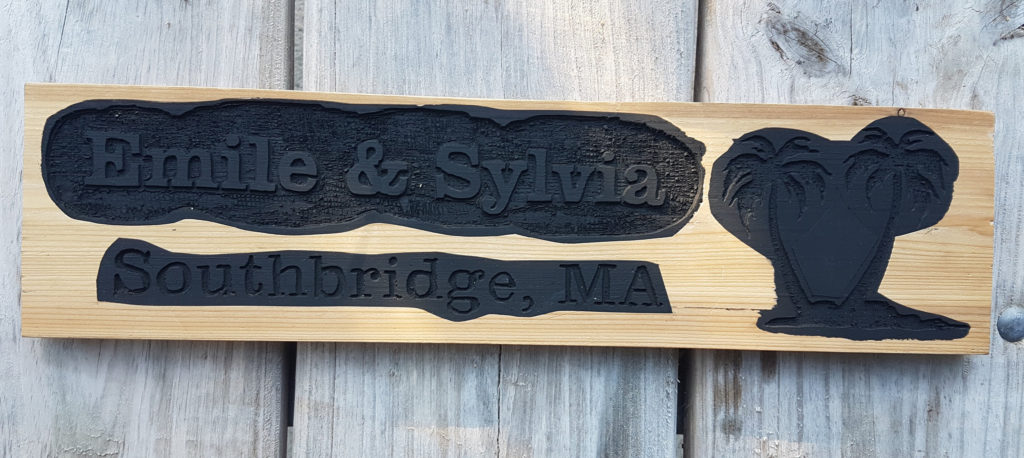
The surface is then sanded with 60 grit and 220 grit sandpaper so as to remove the paint from the top surface. Then protected by three coats of clear, gloss, ultraviolet resistant urethane.
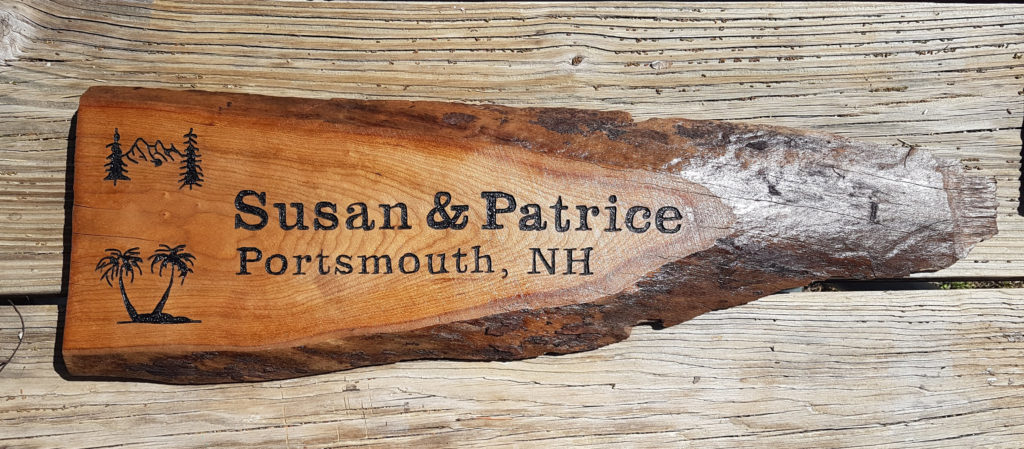
Live Edge Oak – Patrice & Susan
This piece of live edge oak came from a friend’s woodlot in Messina, NY. Carvable area measured approximately 26 inches wide by 6 inches high. Bits used include the profile bit, 60 degree and 90 degree cleanout bit. Finish is three coats of clear, high gloss, ultraviolet resistant urethane.
The mountain and palm tree graphics represent the two areas of the country that they reside.
Live Edge Oak Sign
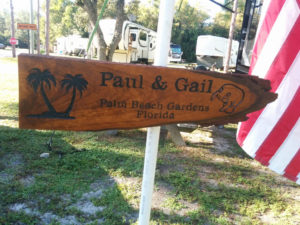 When we first began living in an RV fulltime, I noticed that many (most?) of my camping neighbors had some sort of a welcome sign. Often they had their first name(s) and their hometown. Makes for a great conversation starter!
The wood came from the firewood pile from RV friends who were gracious enough to allow us to visit and stay on their property (moochdocking) in Messina, NY. Thanks Ed and Mary!


